Arch Linux is a lightweight and highly customizable Linux distribution. This guide covers the full installation process and details how to modify an existing Arch installation using the Arch Live ISO.
Part 1: Installing Arch Linux
Step 1: Boot into the Arch Linux ISO
- Download the latest Arch Linux ISO from the official website.
- Create a bootable USB using dd or tools like Rufus, ventoy, balenaEtcher:
dd if=archlinux.iso of=/dev/sdX bs=4M status=progress && sync
- Boot from the USB and select “Arch Linux Installer”.
Step 2: Connect to the Internet
For wired connection:
ping -c 3 archlinux.org
For Wi-Fi: (use iwctl)
iwctl
station wlan0 connect <SSID>
exit
if adapter is off then you should on it first check adapter & then set property
iwctl
device list
adapter adpaterName set-property Powered on
Verify with:
ip a
ping 1.1.1.1
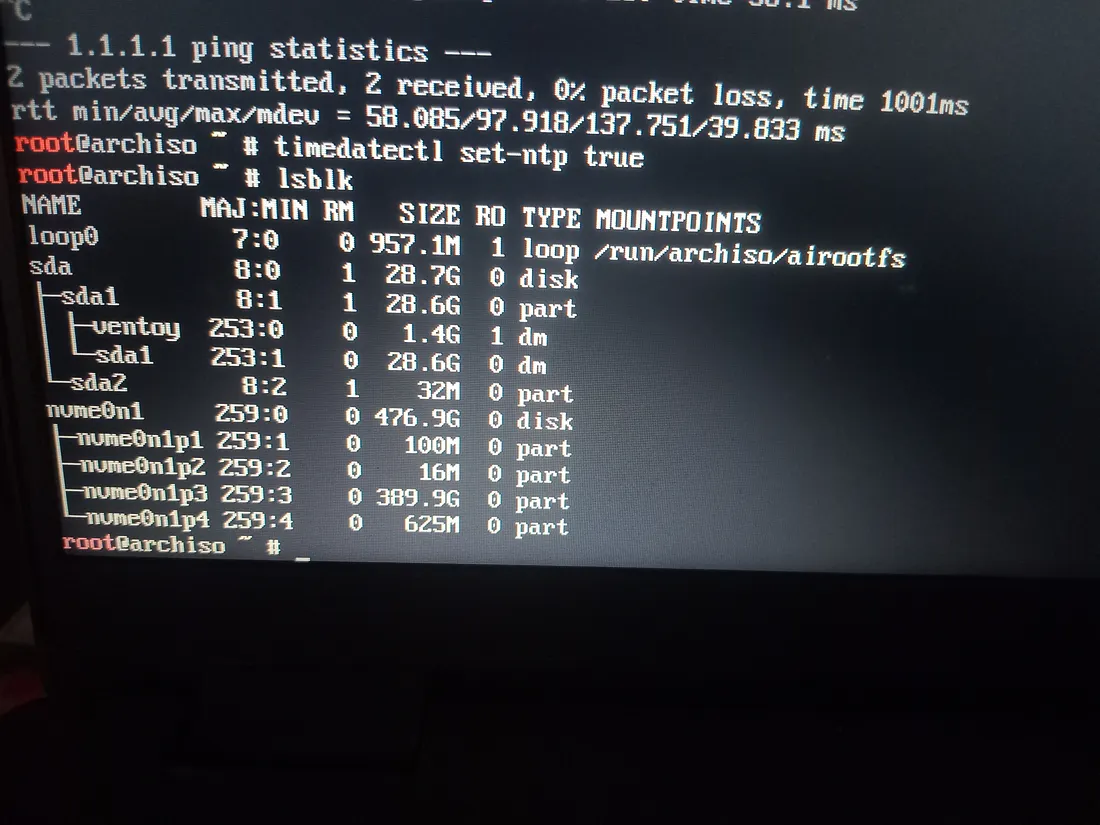
Step 3: Update System Clock
timedatectl set-ntp true
Step 4: Partition the Disk
- Check available disks
lsblk
- Use fdisk or cfdisk (recommanded ) to partition:
In this Format
EFI Partition: 1GB (Type: EFI System)

Root Partition: 400GB (Type: Linux Filesystem)

Swap Partition: 8GB (Type: Linux Swap)
We will use cfdisk here
cfdisk /dev/nvme0n1
use nvme0n1 or something that is system disk , dont use usb disk like sda
Step 5: Format and Mount Partitions
Always run in this sequence post-partitioning: EFI → Swap → Root, then mount
mkfs.fat -F32 /dev/nvme0n1p1   # EFI
mkswap /dev/nvme0n1p3          # Swap
mkfs.ext4 /dev/nvme0n1p2       # Root
now mount
mount /dev/nvme0n1p2 /mnt                  # Root
mount --mkdir /dev/nvme0n1p1 /mnt/boot/efi # EFI
swapon /dev/nvme0n1p3                      # Swap
Step 6: Install Base System
Update Key-ring if ISO is Old
pacman-key --init
pacman-key --populate archlinux
pacman -Sy archlinux-keyring


rm -rf /mnt/var/cache/pacman/pkg/* # Remove corrupted packages If Need
Update the mirrorlist change country to your country
reflector --country India --protocol https --latest 20 --sort rate \
  --save /etc/pacman.d/mirrorlist
Install packages
pacstrap /mnt base linux linux-firmware nano sudo iwd reflector
Generate fstab:
genfstab -U /mnt >> /mnt/etc/fstab
Step 7: Chroot into the System
arch-chroot /mnt
Step 8: Configure System
Set Your time zone change Asia/Kolkata to Your Zone
ln -sf /usr/share/zoneinfo/Asia/Kolkata /etc/localtime
hwclock --systohc
Edit Locale
nano /etc/locale.gen  # Uncomment en_US.UTF-8 UTF-8
locale-gen
echo "LANG=en_US.UTF-8" > /etc/locale.conf
Set Hostname
echo "archlinux" > /etc/hostname
nano /etc/hosts
Add The hosts
127.0.0.1   localhost
::1         localhost
Set The Root Password
passwd
Optional : Continue Create User Step
Install packages
pacman -S sudo iwd reflector grub efibootmgr
Install bootloader GRUB for UEFI
grub-install --target=x86_64-efi --efi-directory=/boot/efi --bootloader-id=GRUB
grub-mkconfig -o /boot/grub/grub.cfg
Exit arch-chroot , unmount and Reboot
exit
umount -R /mnt
reboot
Remove installation media and log in.
Part 2: Modifying Arch Linux Using Arch Live ISO
If you forgot to create a user, set a root password, or fix a broken system of arch linux , you can use the Arch Live ISO to modify your system.
Step 1: Boot into the Arch ISO
Insert the Arch Linux USB and boot into it Open a terminal and check your disk layout:
lsblk
Step 2: Mount Your Arch Linux Installation
mount /dev/nvme0n1p2 /mnt
mount --mkdir /dev/nvme0n1p1 /mnt/boot/efi
swapon /dev/nvme0n1p3
Step 3: Chroot into the System
arch-chroot /mnt
Step 4: Reset Root Password
passwd
Enter and confirm a new root password.
Step 5: Create a New User (Optional)
Replace username with your preferred username:
useradd -m -G wheel -s /bin/bash username
passwd username
Install basic packages
pacman -S sudo iwd reflector
Enable sudo:
nano /etc/sudoers # Uncomment "%wheel ALL=(ALL:ALL) ALL"
Step 6: Update the System
pacman -Syu
Step 7: Reinstall Bootloader (If Needed)
grub-install --target=x86_64-efi --efi-directory=/boot/efi --bootloader-id=GRUB
grub-mkconfig -o /boot/grub/grub.cfg
Step 8: Exit and Reboot
exit
umount -R /mnt
swapoff -a
reboot
Remove the installation media and boot into Arch Linux.